Modular Synthesis
A collection of the synthesizer modules I’ve built and the overall project status.
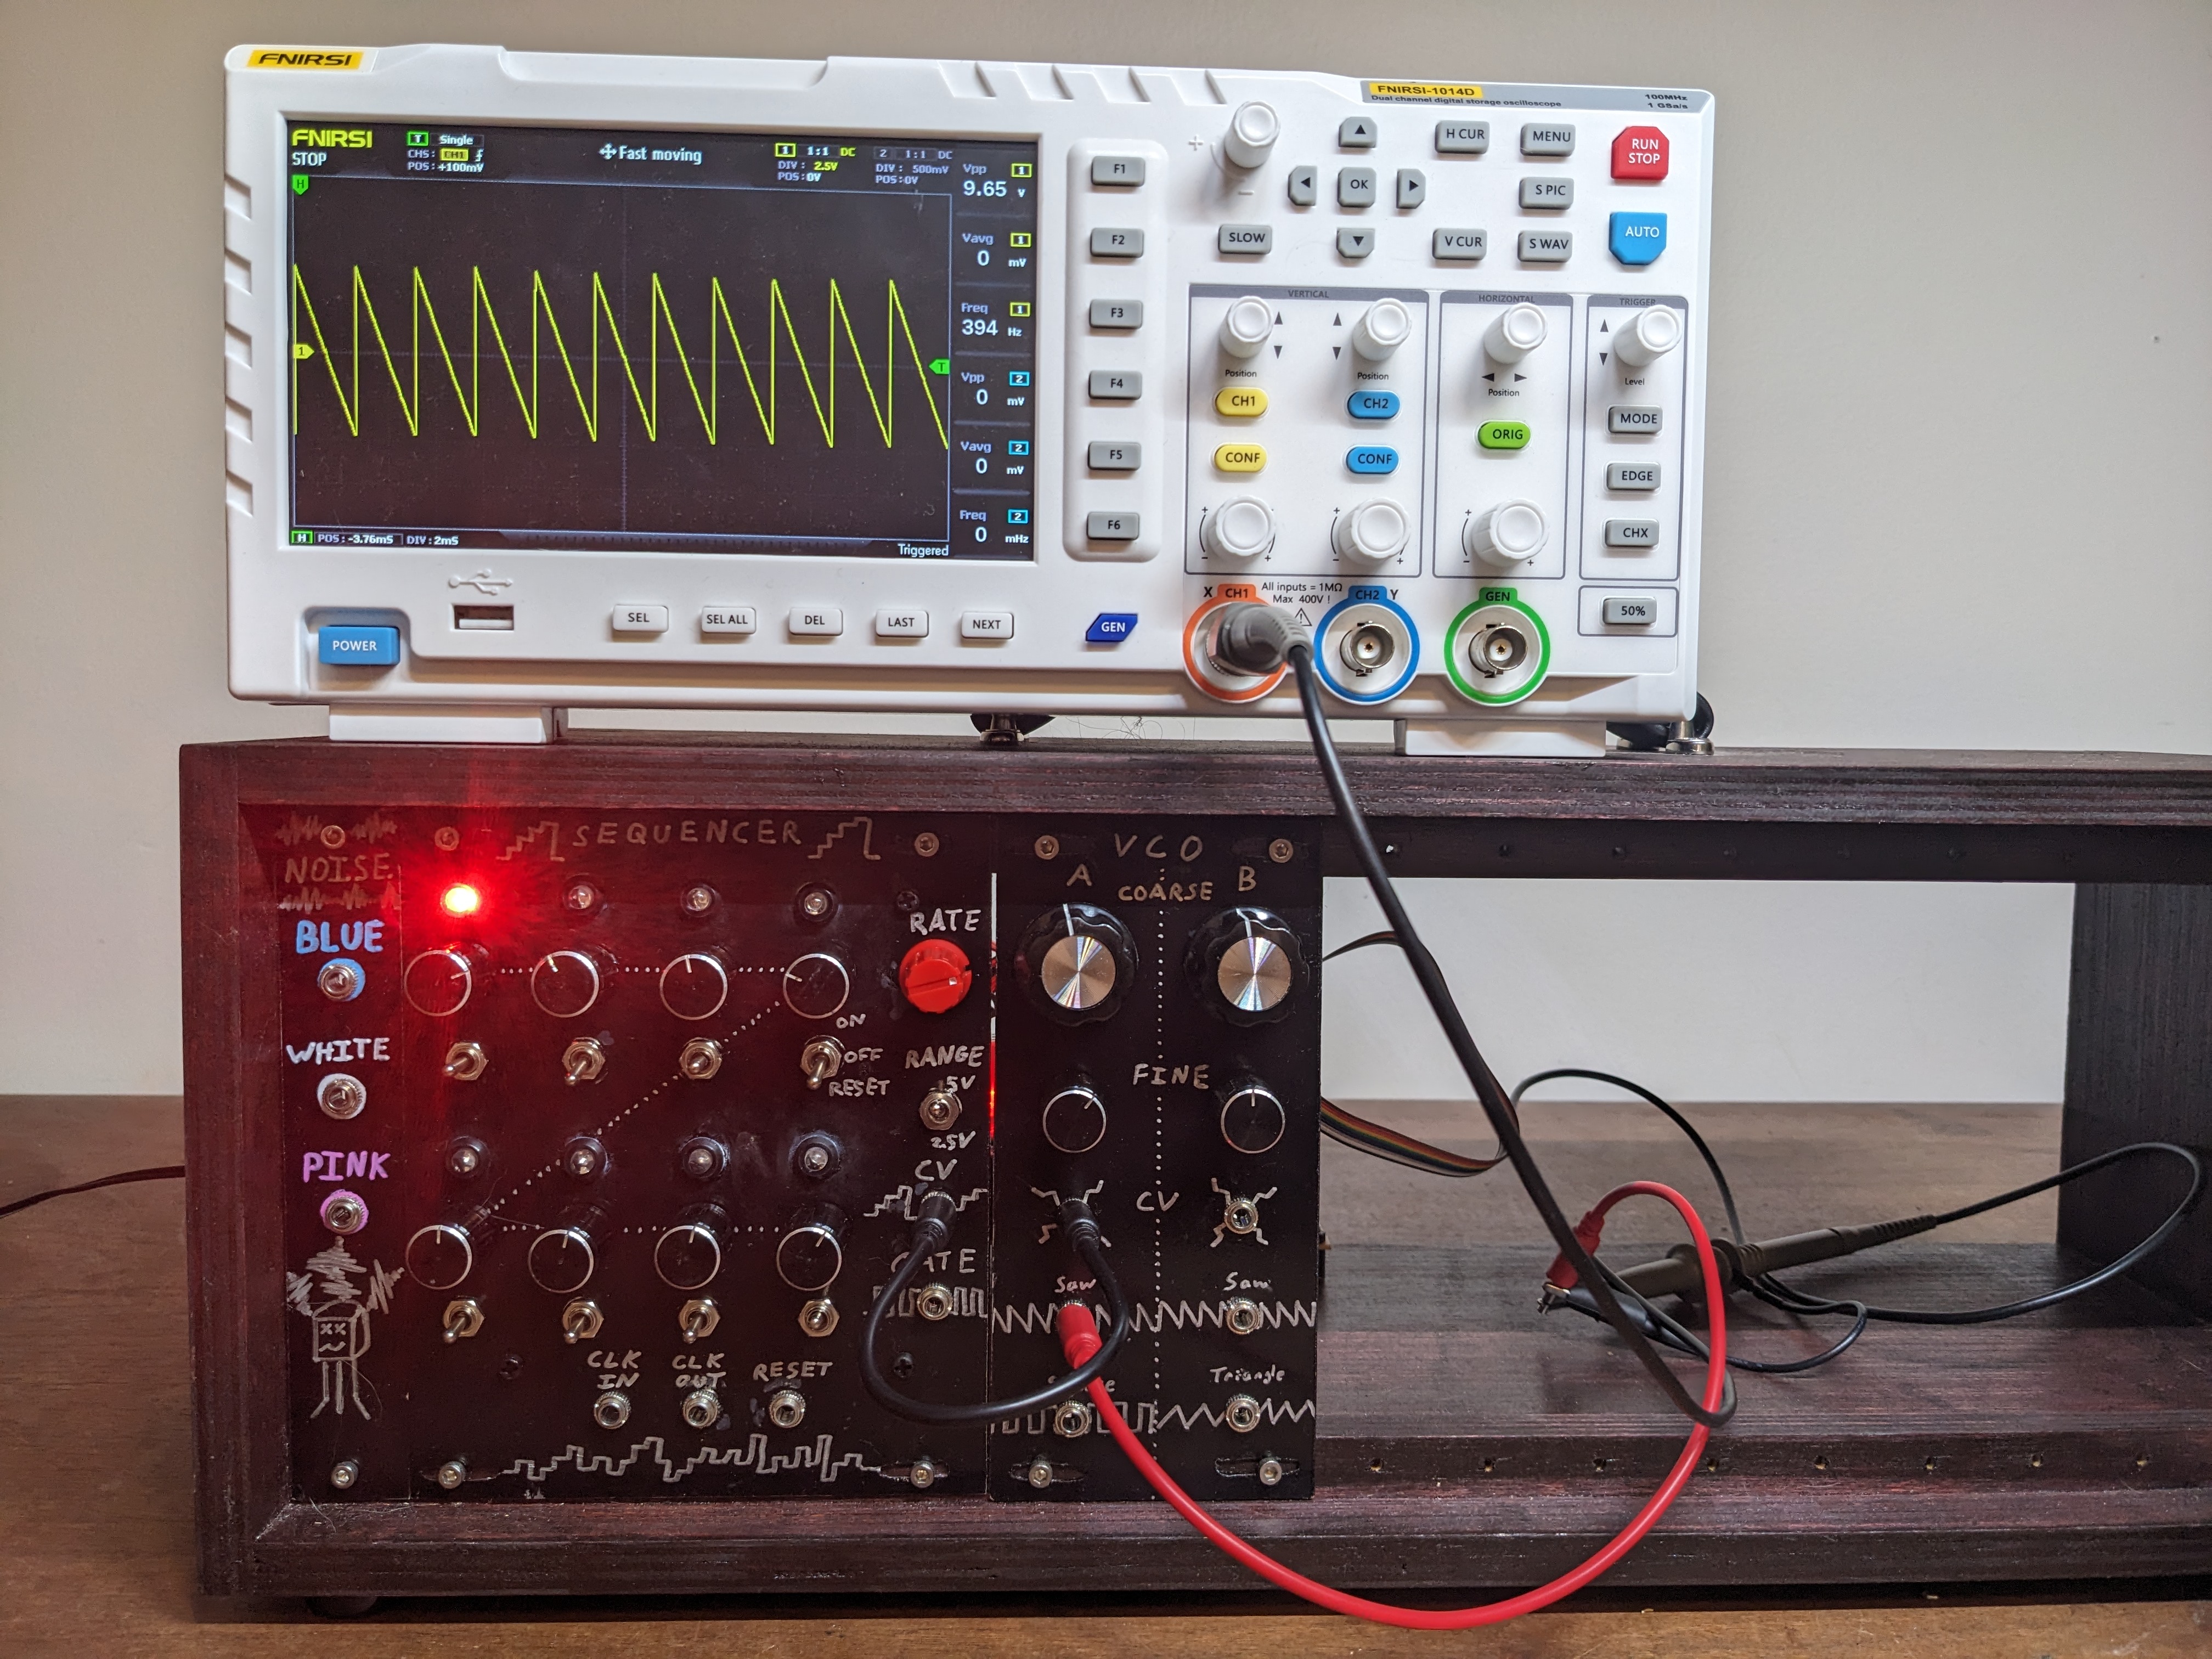 Front panels with scope showing a sawtooth wave.
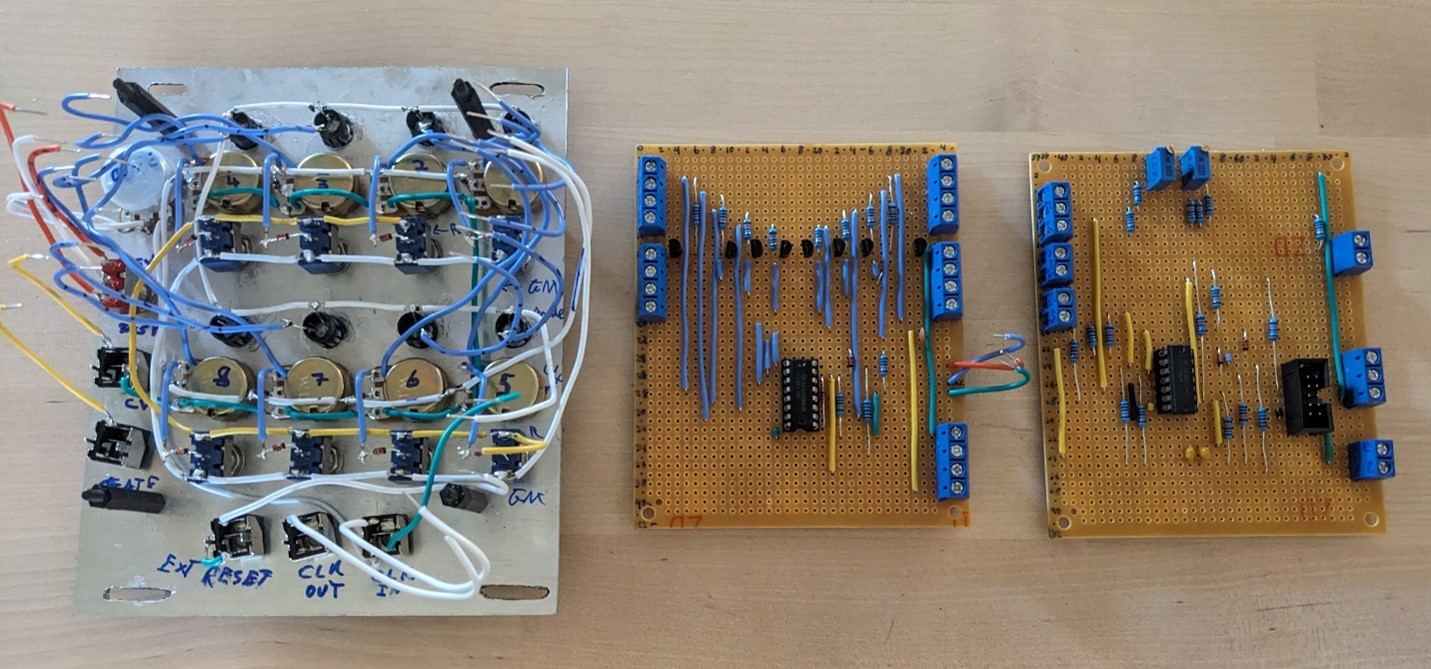
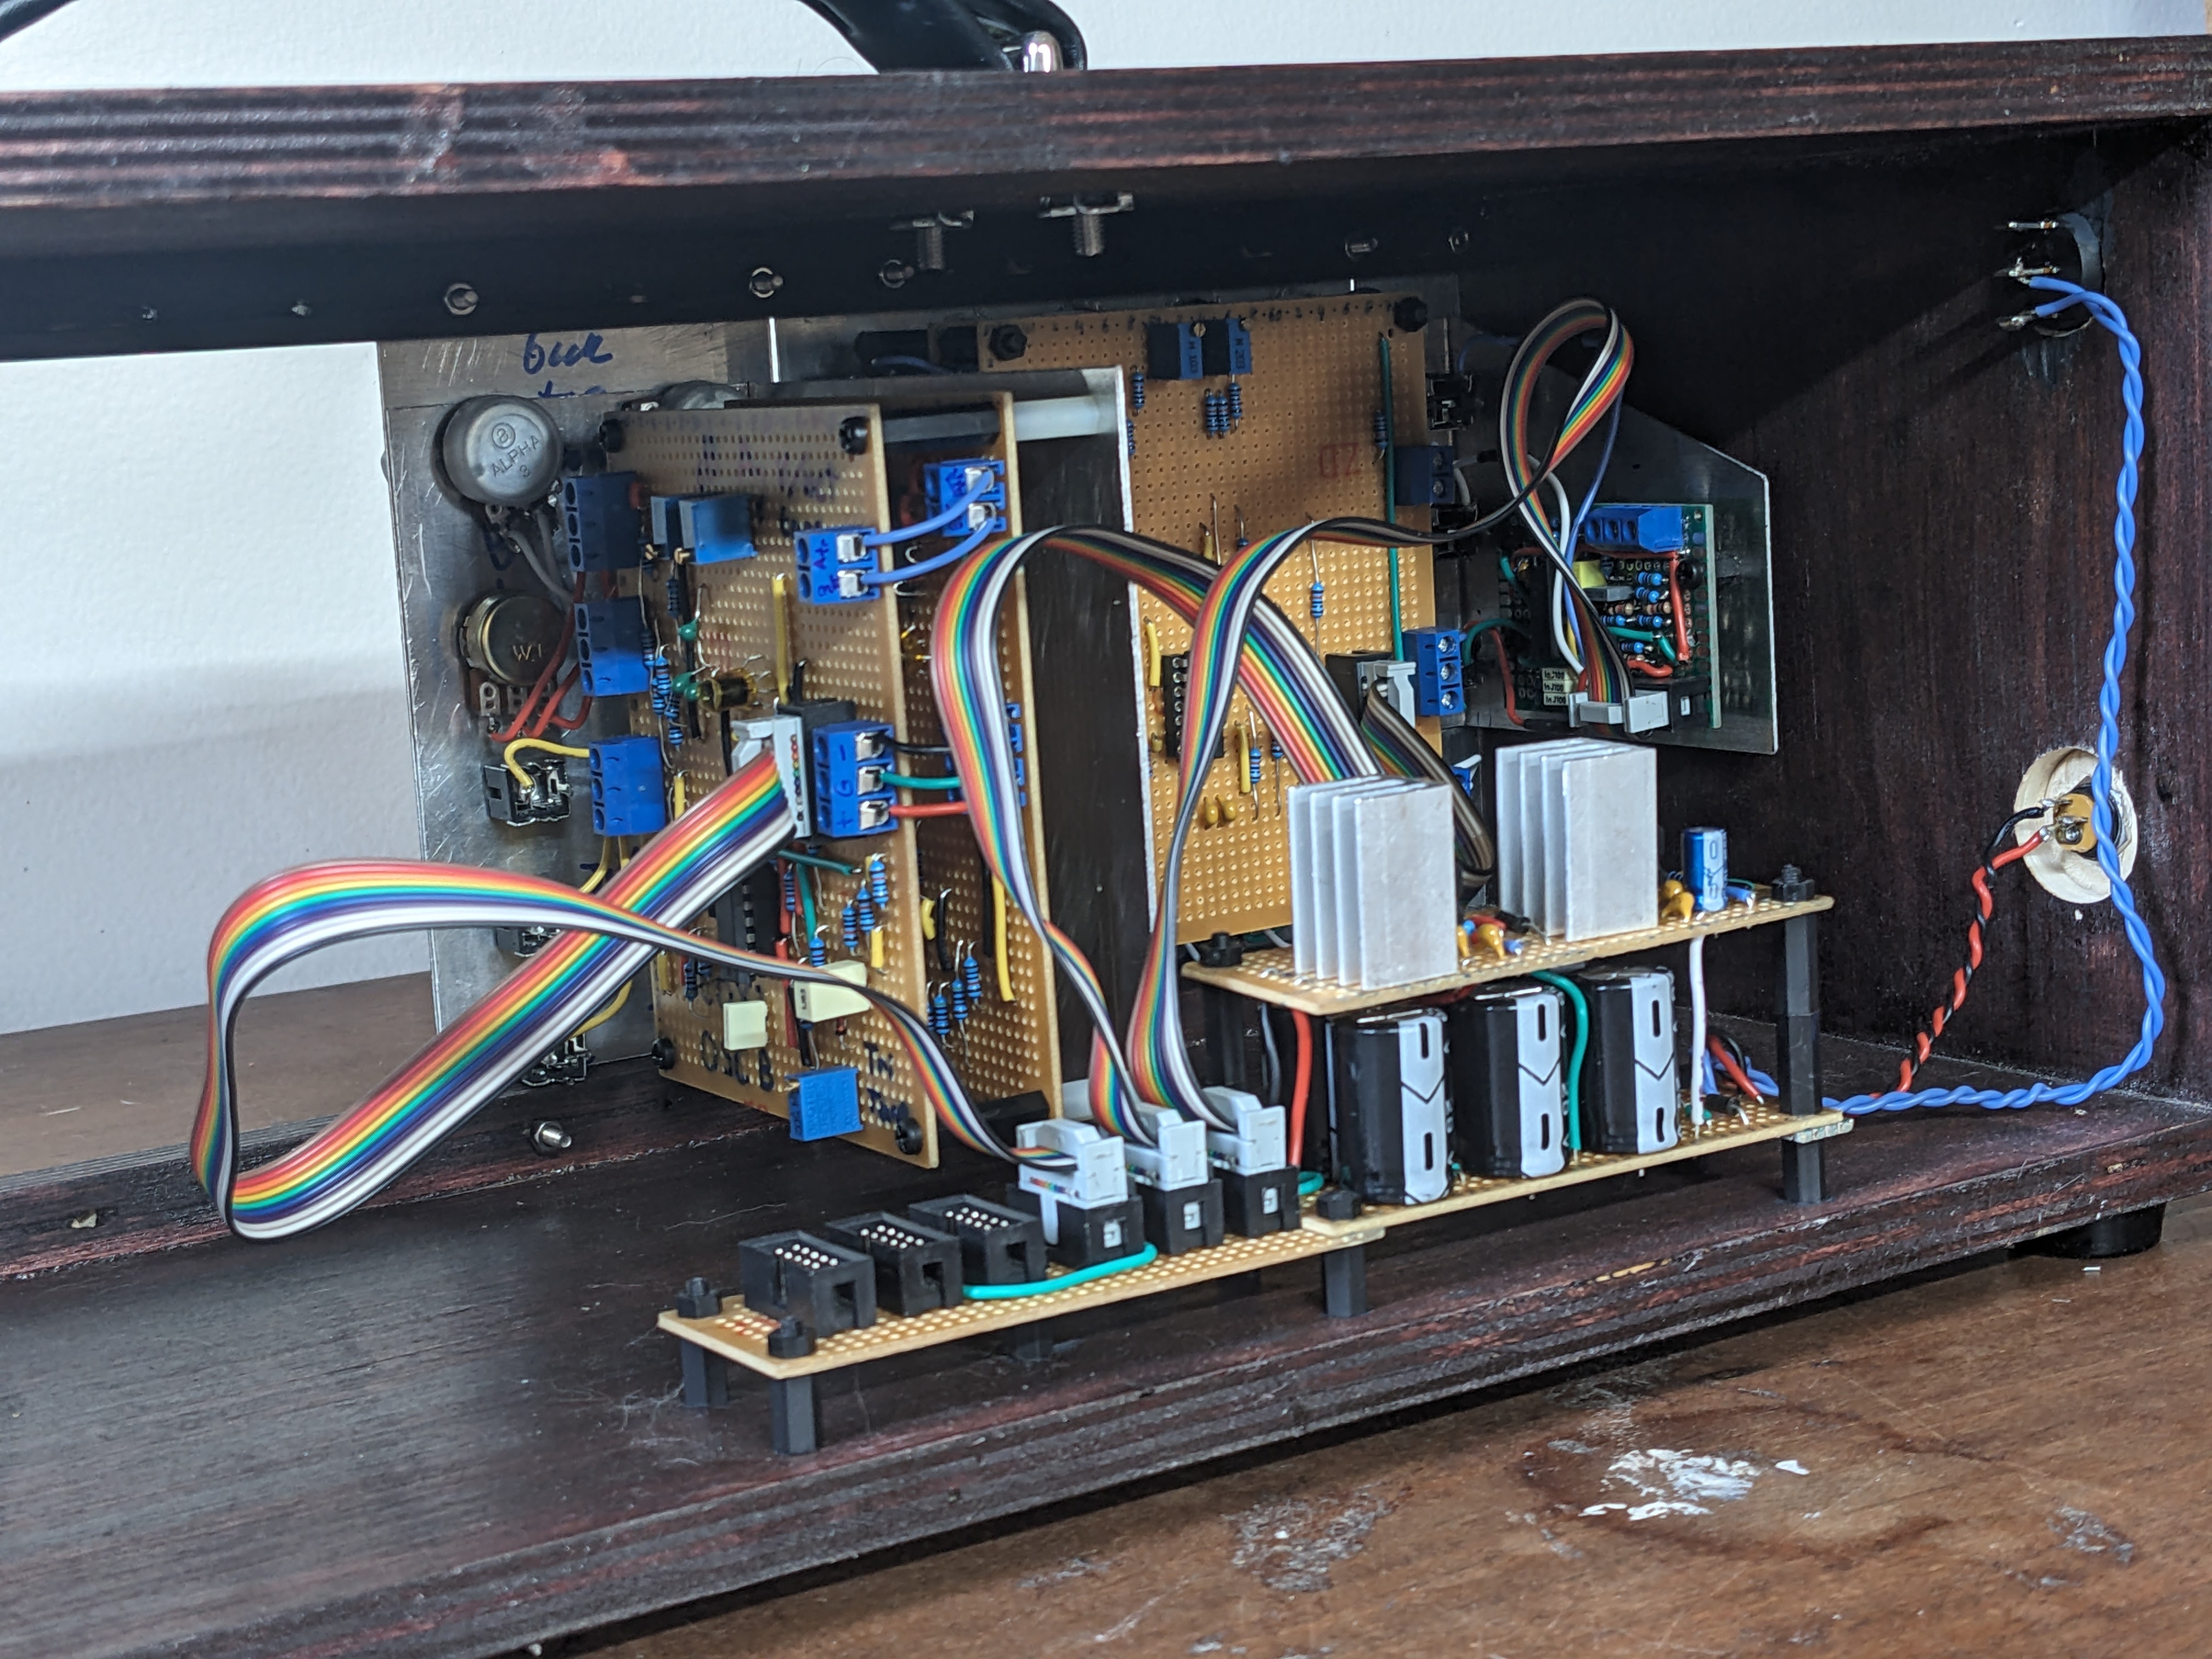 Back panels made out of stripboard and aluminum.
Summary
I’m building a modular synthesizer to learn about analog circuits and electronic music. “But why?”, you ask. Or similarly, “I thought you were a chemist?”
I’m not completely unqualified for this – I did take a 300-level electronics elective in college, though it was mostly just doing linear algebra rather than working with real components. My lab partner and I build an extremely poor potentiostat. I’ve also built a small, Altoids-can, signal processing circuit for my grad school lab, which, amazingly, it is still in use today.
Honestly, I’m not entirely sure. There is something aesthetically pleasing about the orderliness of a schematic and it’s materialization onto stripboard. Witnessing a few components turn the chaos of electrons into something approximately musical was too alluring to not give it a try.
I’m essentially building these “educational” modules designed by Moritz Klein available at Erica Synths – but with my own parts rather than from a PCB kit. Sometimes I’ll make small modifications to the design because I want more or less of something, or because of component tolerances.
Sound Demo
What you’re hearing in this video is three modules interacting with each other:
- a step sequencer is generating a control voltage (CV) sequence
- a quantizer (the mess on the breadboard) is “rounding” the CV to discrete values on a musical scale (chromatic, C major, or C minor)
- a voltage controlled oscillator turns the CV into a sawtooth or square wave audio signal
Module Status
| Module | Description | Status |
|---|---|---|
| Case | Not technically a module, but important! It’s wood. | Complete |
| Power | Transforms 24 V AC wall wart into +/-12 V DC. | Complete [PDF] |
| Noise | White noise generator. Filtered into pink and blue flavors. | Complete [PDF] |
| Step Sequencer | Creates CV and gate sequences. | Complete [PDF] |
| Voltage Controlled Oscillator | Turns CV into volt/octave saw, square, or triangle waves. | Complete [PDF] |
| Voltage Controlled Filter | Low-pass filters audio signal according to envelope CV | Breadboarded |
| Quantizer | Rounds CV to selected musical scale. | Breadboarded |
| Sample and Hold | Samples a voltage and holds it for selected time. | Breadboarded |
| Envelope Generator | Creates CV envelope for other modules | Not started |
| Voltage Controlled Amplifier | Amplified audio signal according to envelope CV | Not started |
Design and Build Process
An outline of my process in a nutshell:
- Preparation
- Research and understand a module via Youtube and lots of Googling
- Order any missing parts
- Prototype
- Breadboard it with real parts
- Test modifications if needed
- Layout front panel parts on graph paper and choose size
- CAD
- Build
- Cut stripboard tracks
- Solder ICs, large components, small components, and wires
- Cut metal for front panel, drill holes, and paint
- Assemble front and back panels
- Debug
- Plug it in and troubleshoot all the mistakes that were inevitably made.
- “I forgot it” –> return to Build phase
- “I messed up” –> return to CAD phase
- Adjust any tuning points using case power supply
- Plug it in and troubleshoot all the mistakes that were inevitably made.
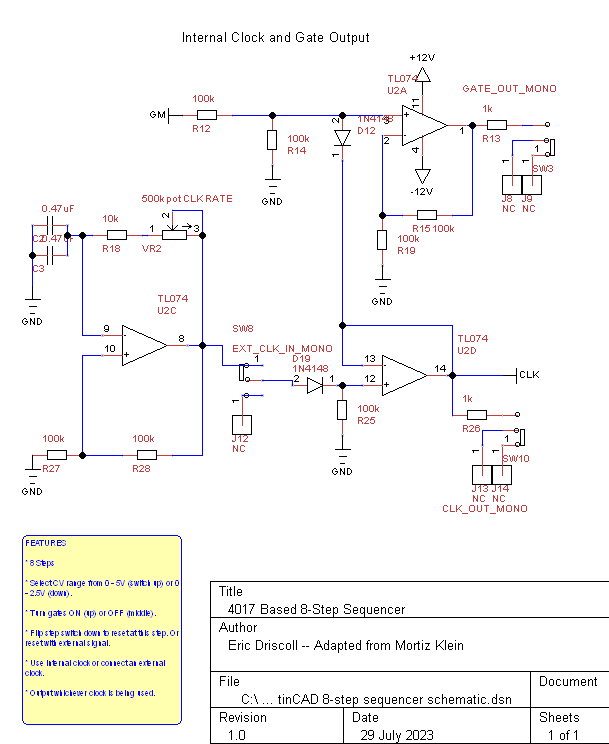
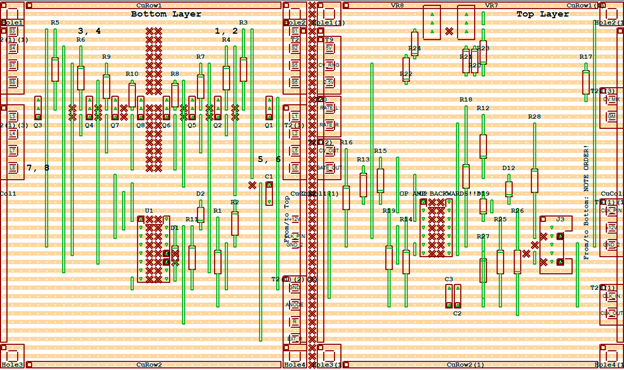
Example Schematics and Pictures
Here are some pictures from the step sequencer build. Eventually, they’ll go in their own post.
Resources
- Visit the Erica Synths product pages to see available modules. They have details manuals with schematics available for free.
- Watch Moritz Klein’s Youtube channel for a treasure trove of DIY synth pedagogy.
- Watch LOOK MUM NO COMPUTER’s Youtube channel to cultivate some, uh, chaotic, creative energy.