Doing the full spectrum mod on a Canon T6 DSLR for astrophotography
This page is a work in progress
Summary
I followed Gary Honis’ procedure for a Canon 300D on my Canon T6 (1300D). They are both in Canon’s “Rebel” line of DSLRs so I figured it would be pretty close, and luckily I was right!
Buy or DIY?
There are professional services that will perform this modification for you for a reasonable price. I decided to DIY because I got my camera used for $200 and having a pro do the mod would have been about another $200. So I felt like the financial risk was not particularly high. And, well, I just really like to take stuff apart and didn’t want to deprive myself of that fun.
In the future, especially if I ever acquire a camera in the $500+ range, I would probably pay someone to do it. It’s definitely worth it for the labor alone.
Warning! You can seriously mess up your camera doing this! Like, irreversibly.
Pictures from the process
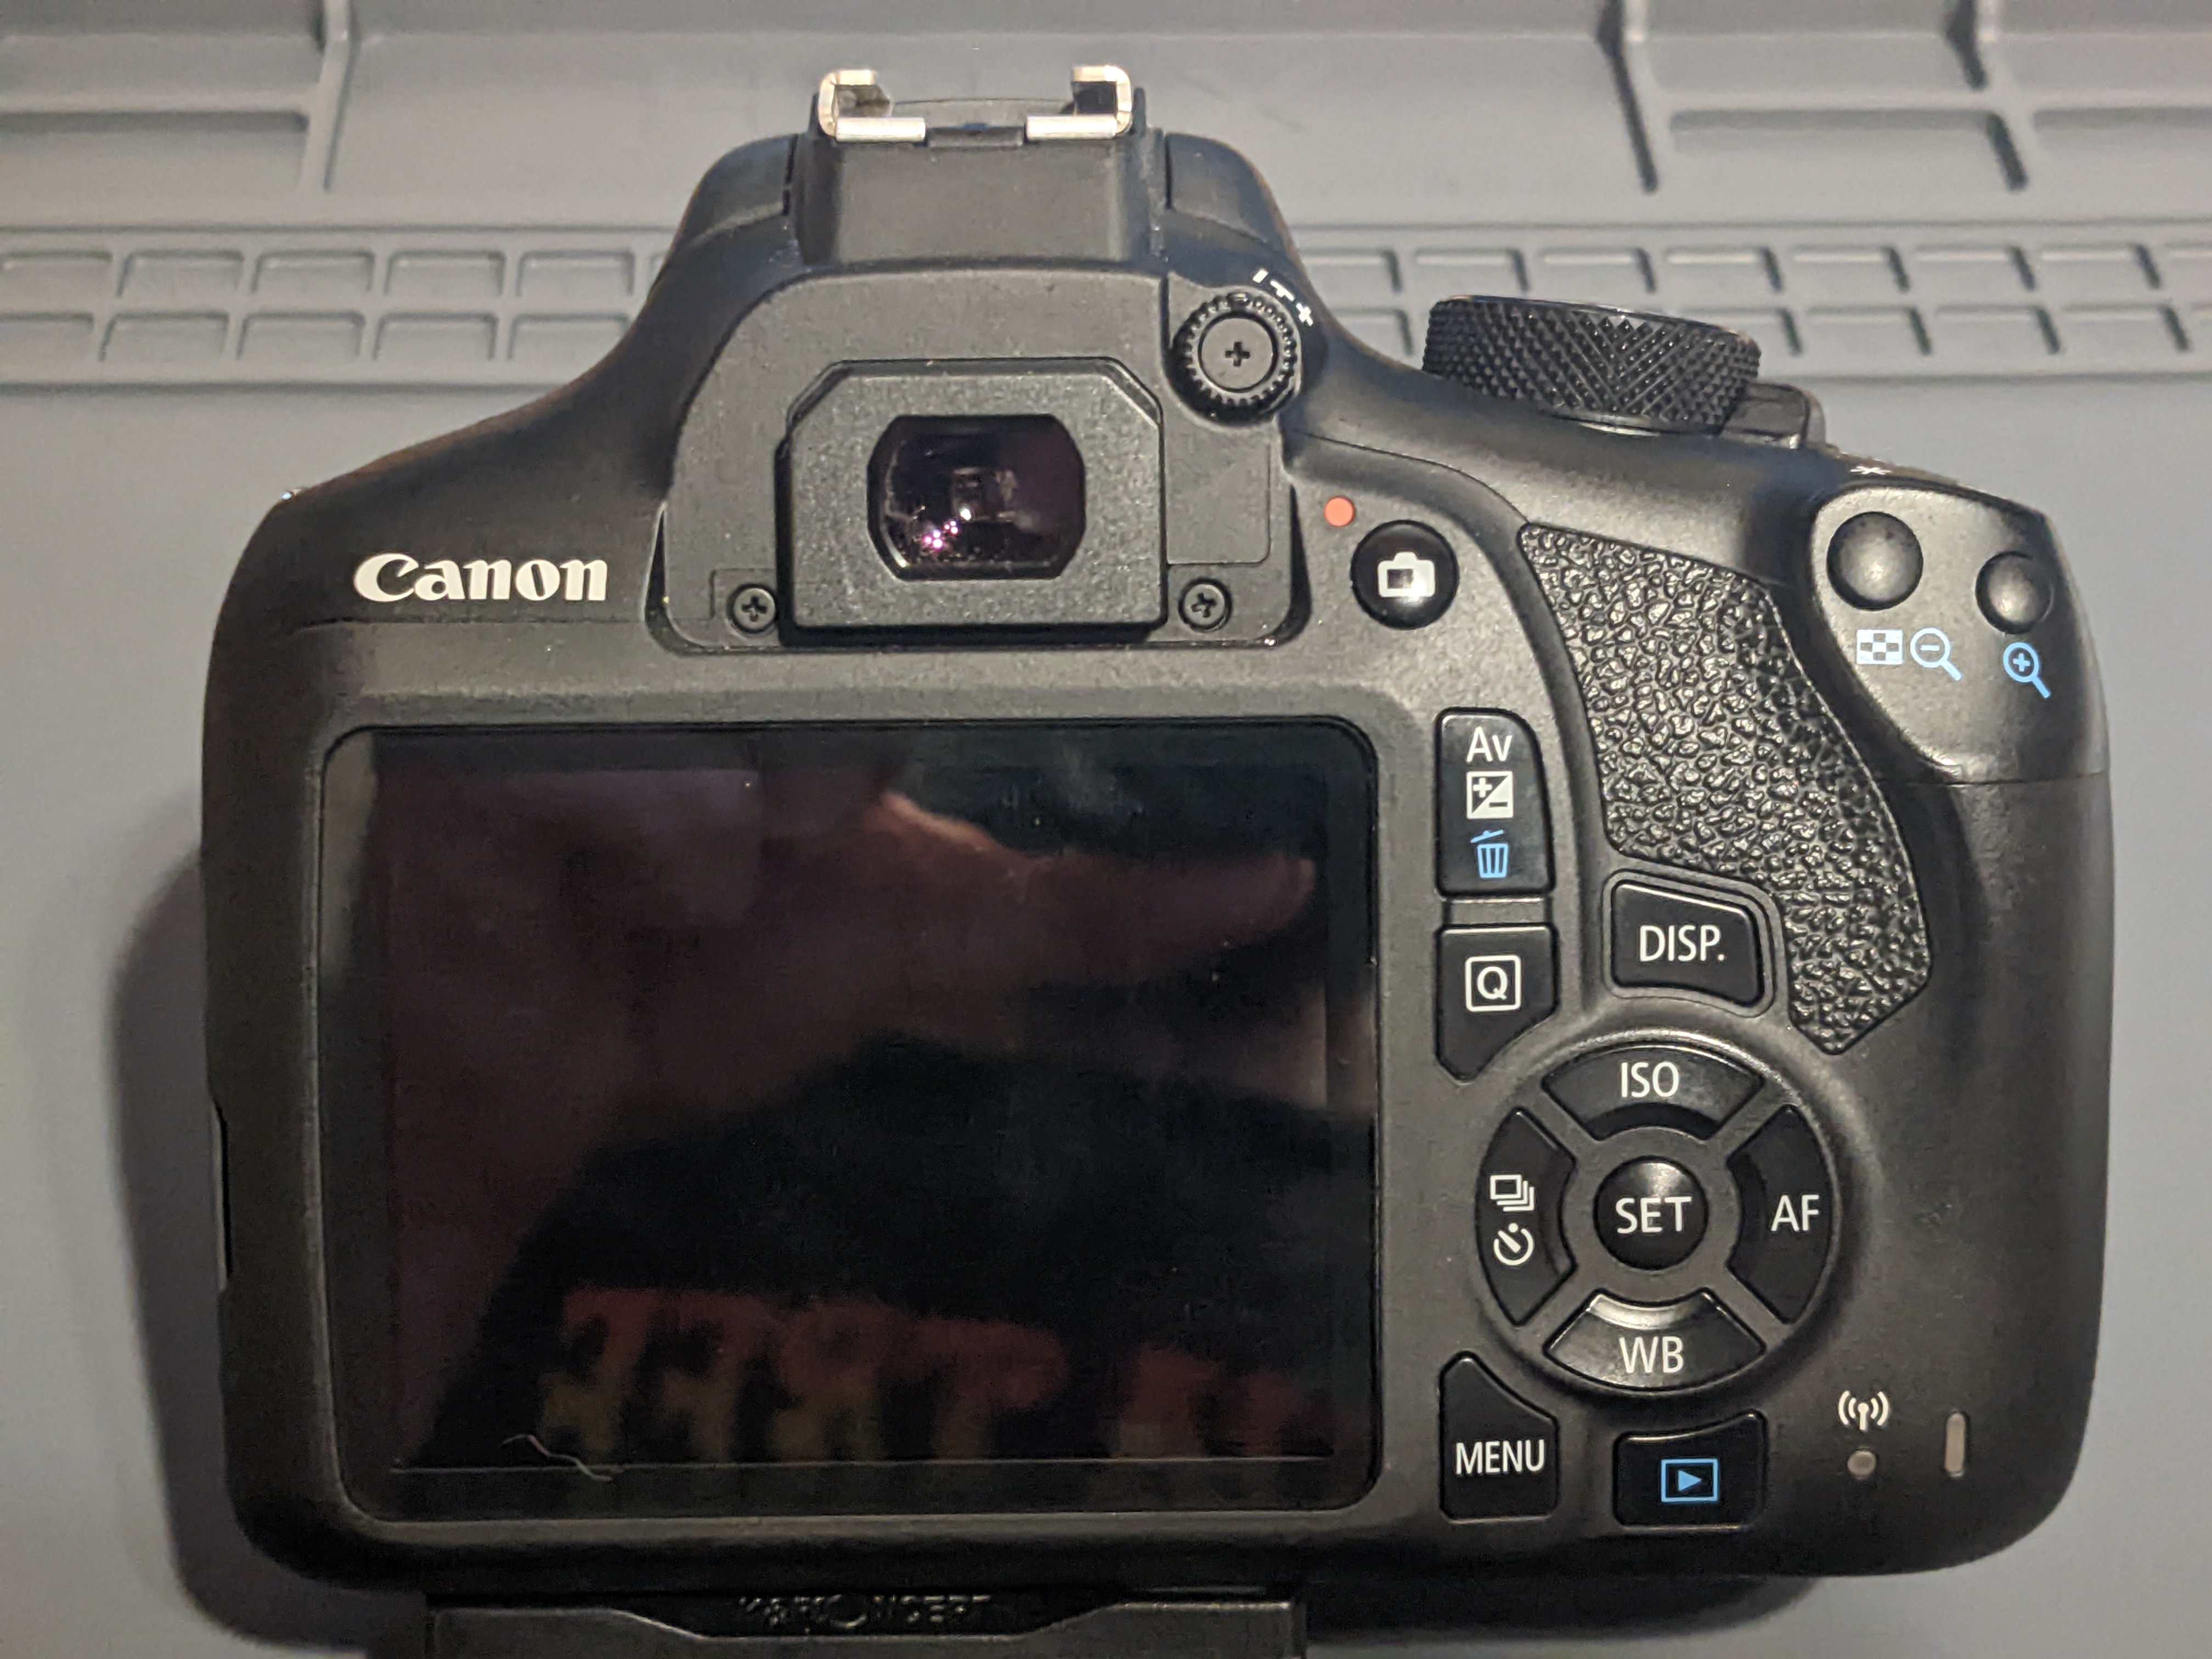 My camera on the anti-static surgery table.
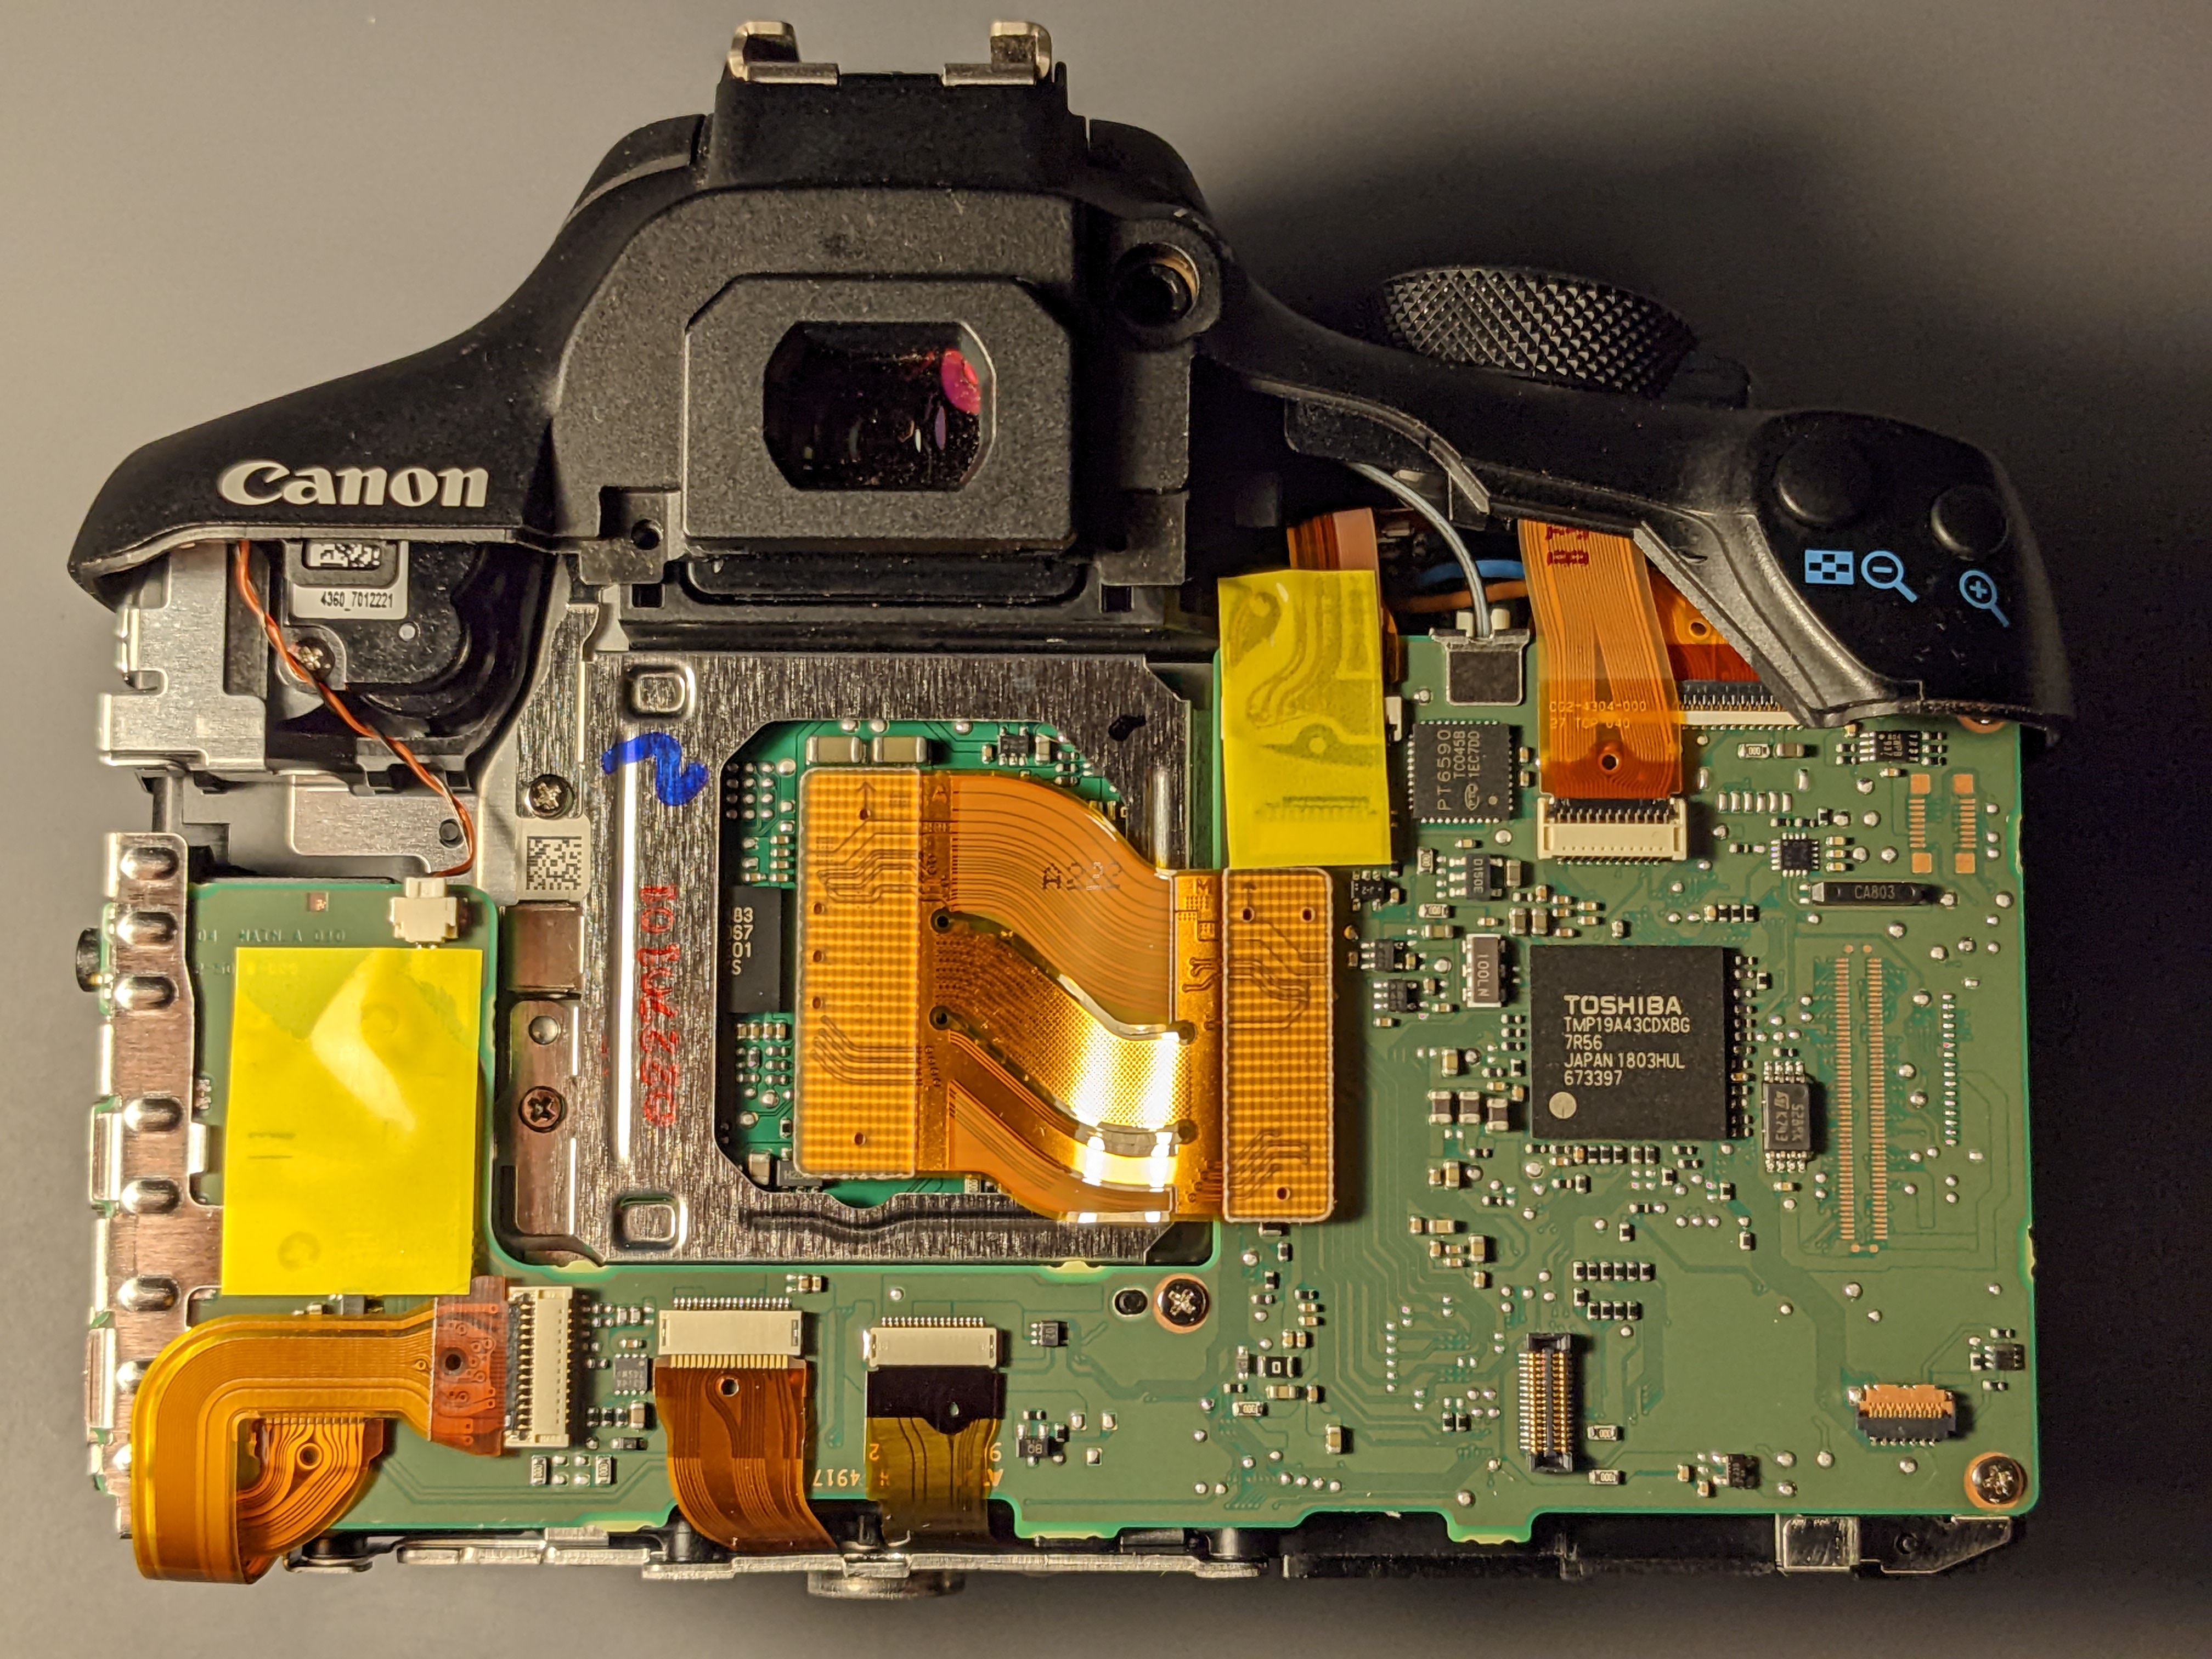 After many screws, the outer PCB is finally revealed. All these ribbon cables needed to be carefully unseated in order to get under this board.
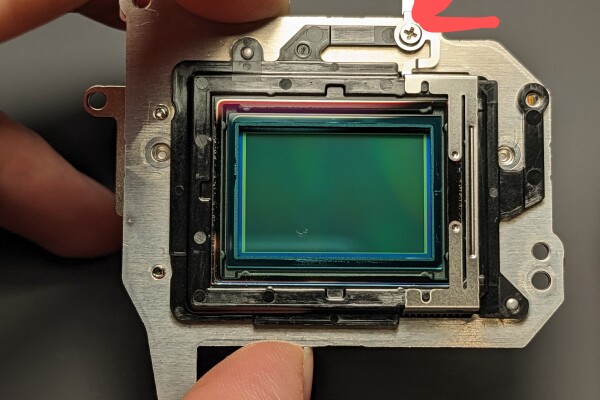
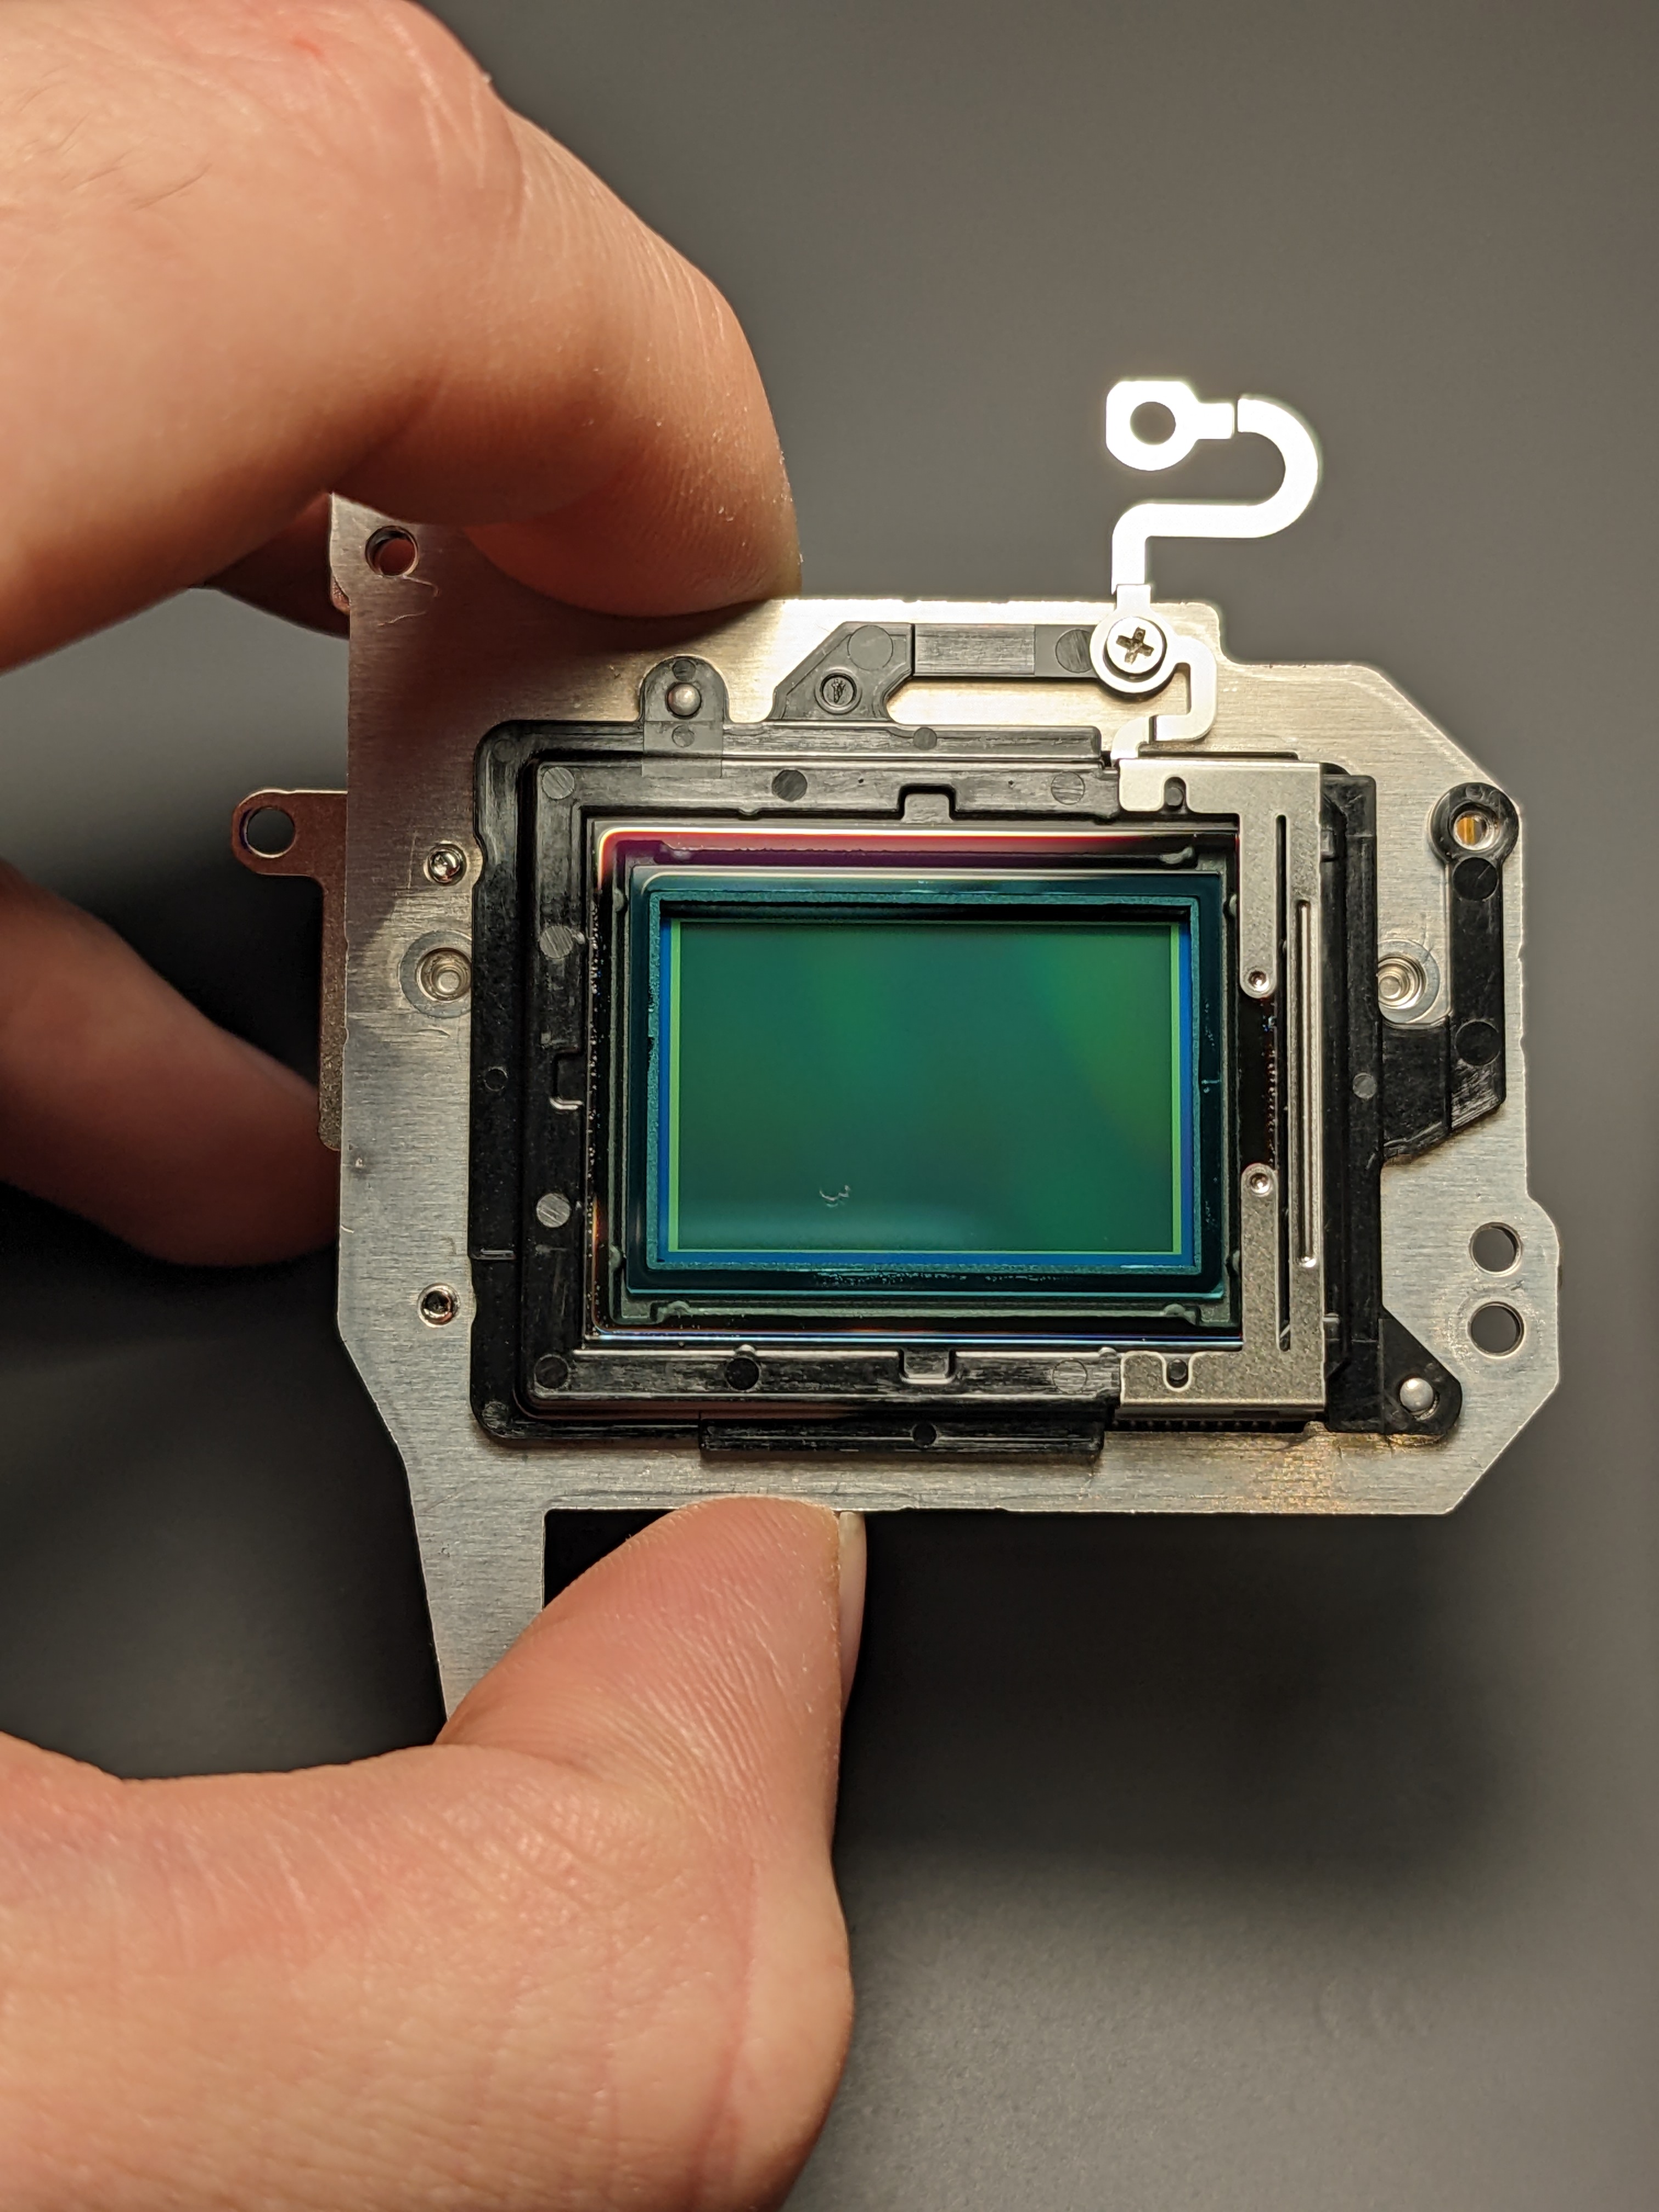
 With the outer PCB removed, the back of the sensor assembly is revealed.
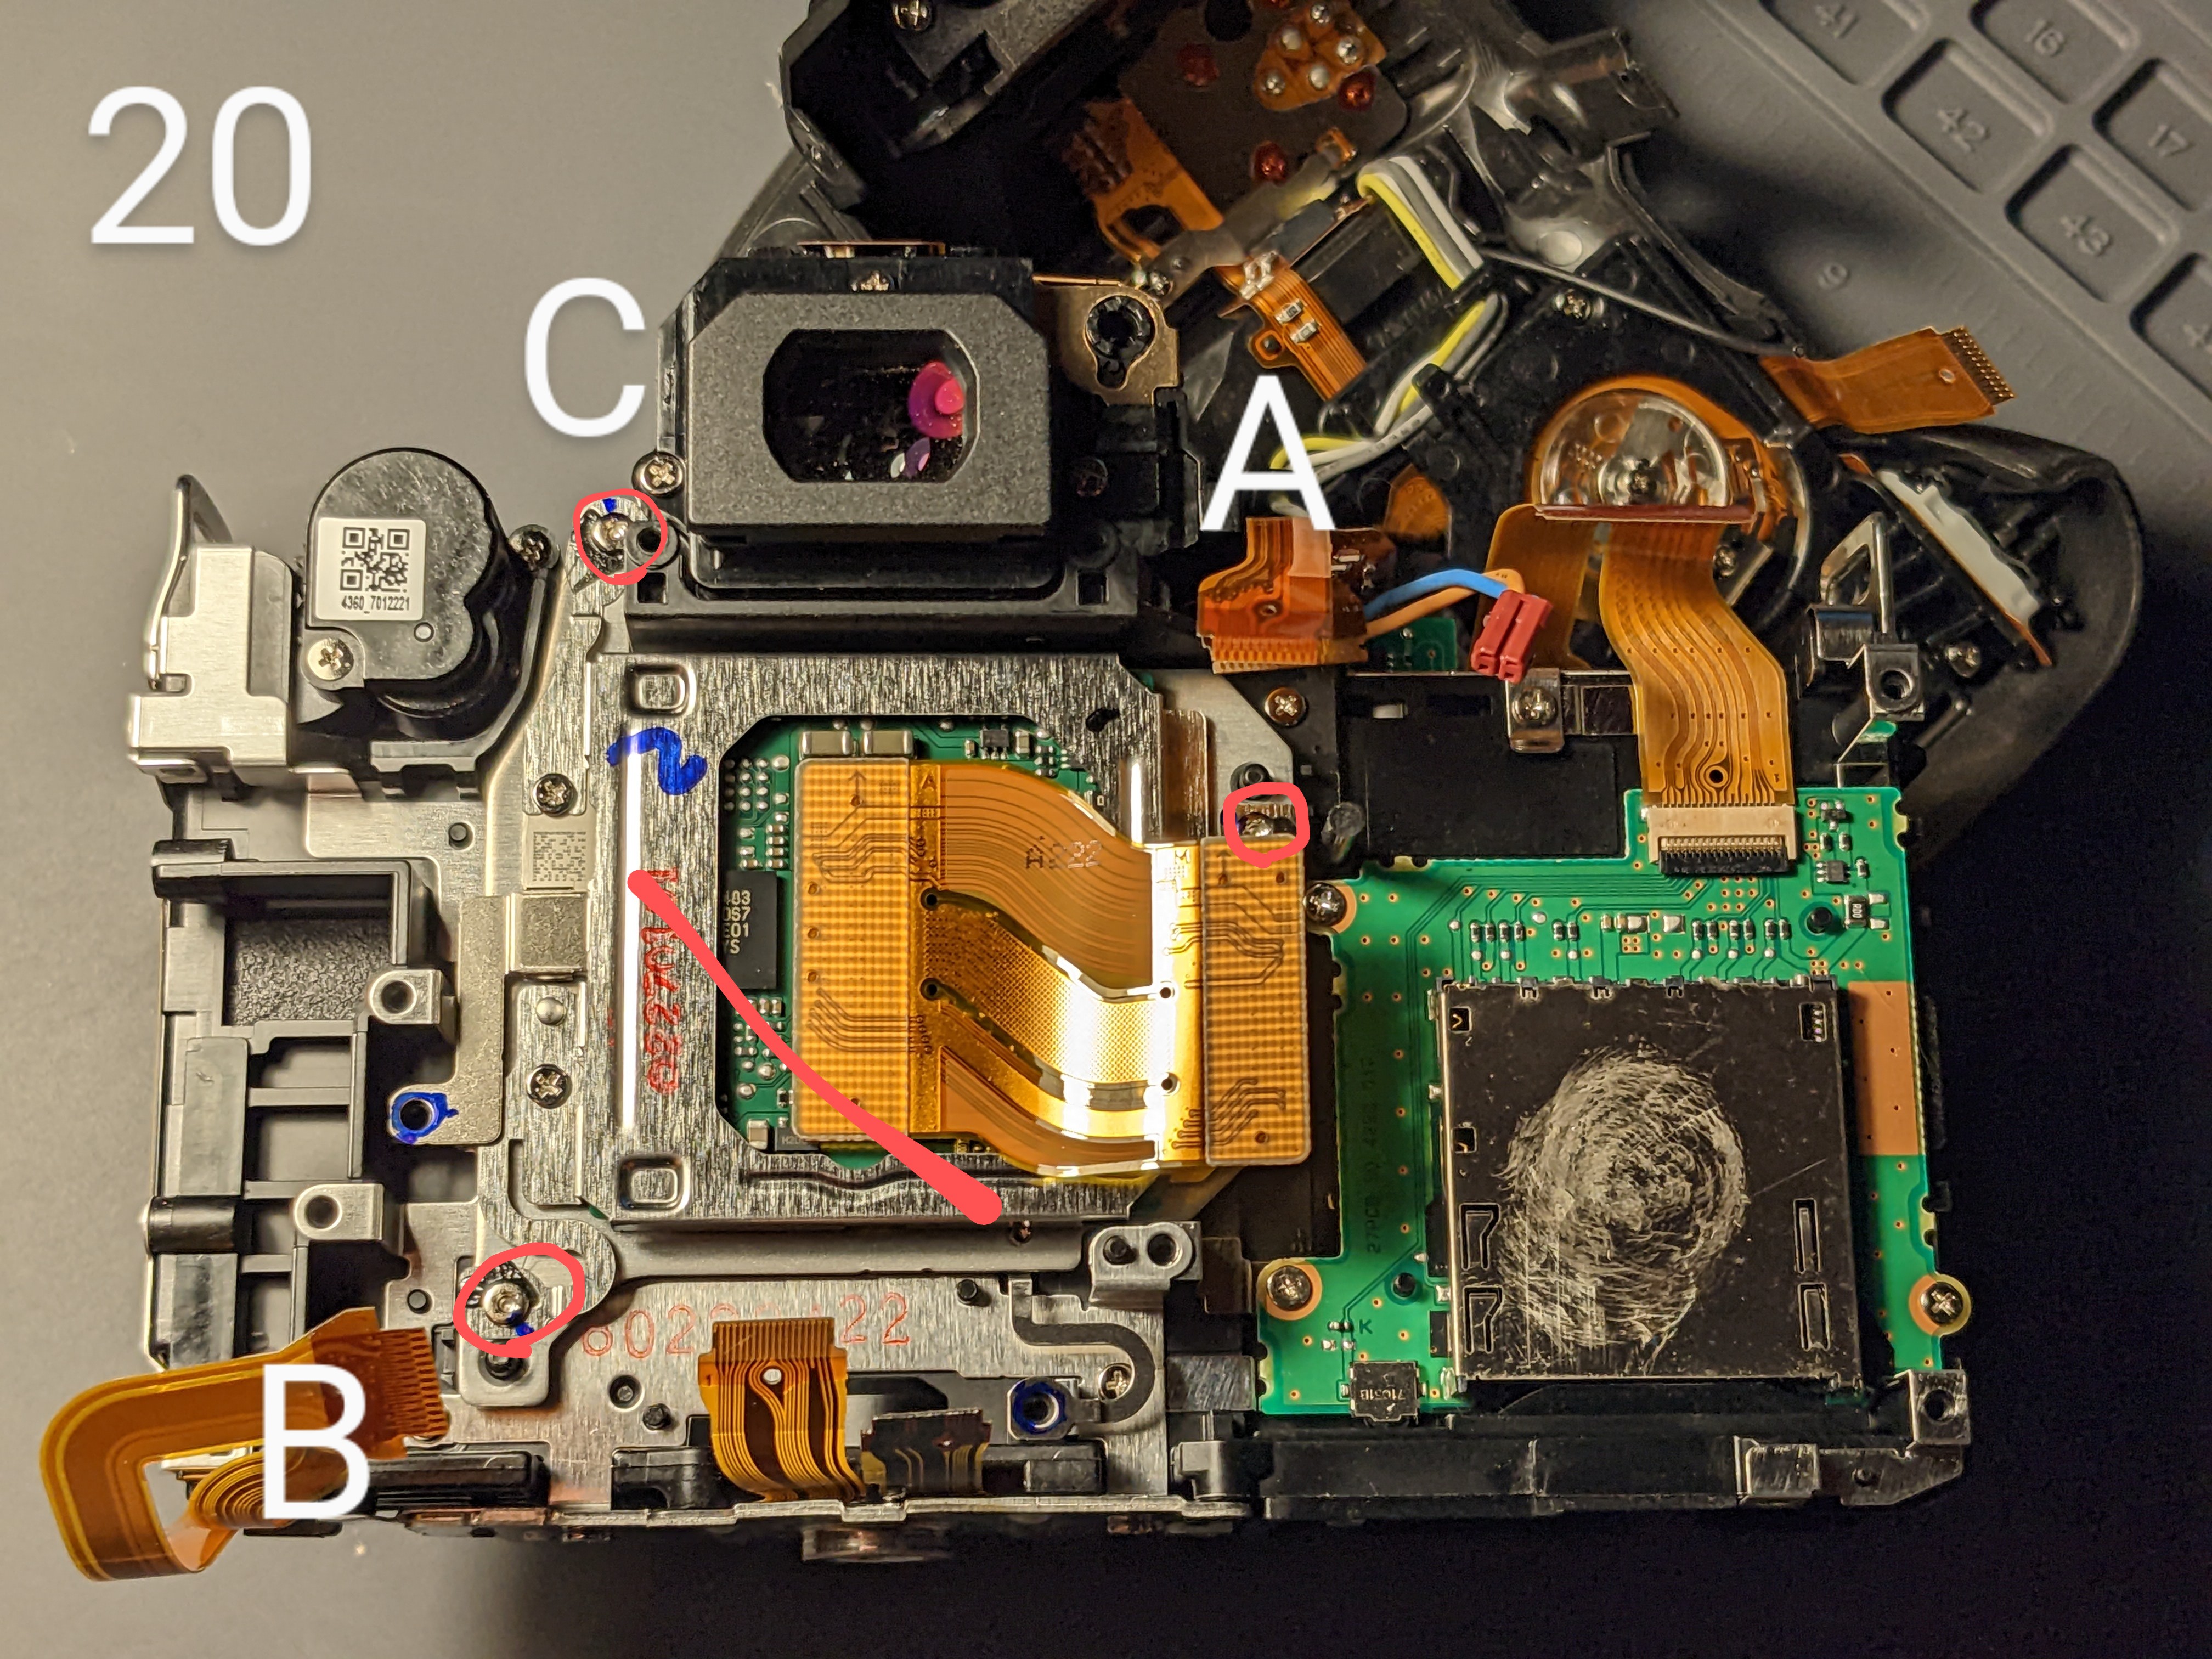
Important: Remember how I said you can seriously mess up your camera?
These three screws, sealed with the black glue, are how the sensor is aligned into the optical train. After the mod is finished, they must be returned to their original positions.
If they’re off position, even by fractions of a turn, it will result in these two issues, which I am seeing in manageable, but annoying, amounts on my camera.
Viewfinder focus doesn’t match live-view focus: If you set focus looking through the viewfinder, you’ll see that the collected image will be blurry. This is because the sensor was displaced from it’s proper position in the optical train.
The work around is simple – use the live-view to focus images, that’s what your sensor is actually seeing. This is how I find focus with astrophotography anyways and to be honest, I didn’t even notice this until months later when I was taking some daytime photos.
Tilt: The sensor’s normal isn’t pointing along the optical axis. This will result in one side or corner of you photos being blurry while the other side is in focus. You now have a really poorly designed tilt shift camera!
There is no easy workaround for this. Unfortunately, you’ll have to open everything up, tweak those screws, then see if the issues improved. My tilt is minor enough that I haven’t done this yet. If you’ve got a critical eye, you may have seen some blurry stars in the corners of some of my images – this is what it’s from!
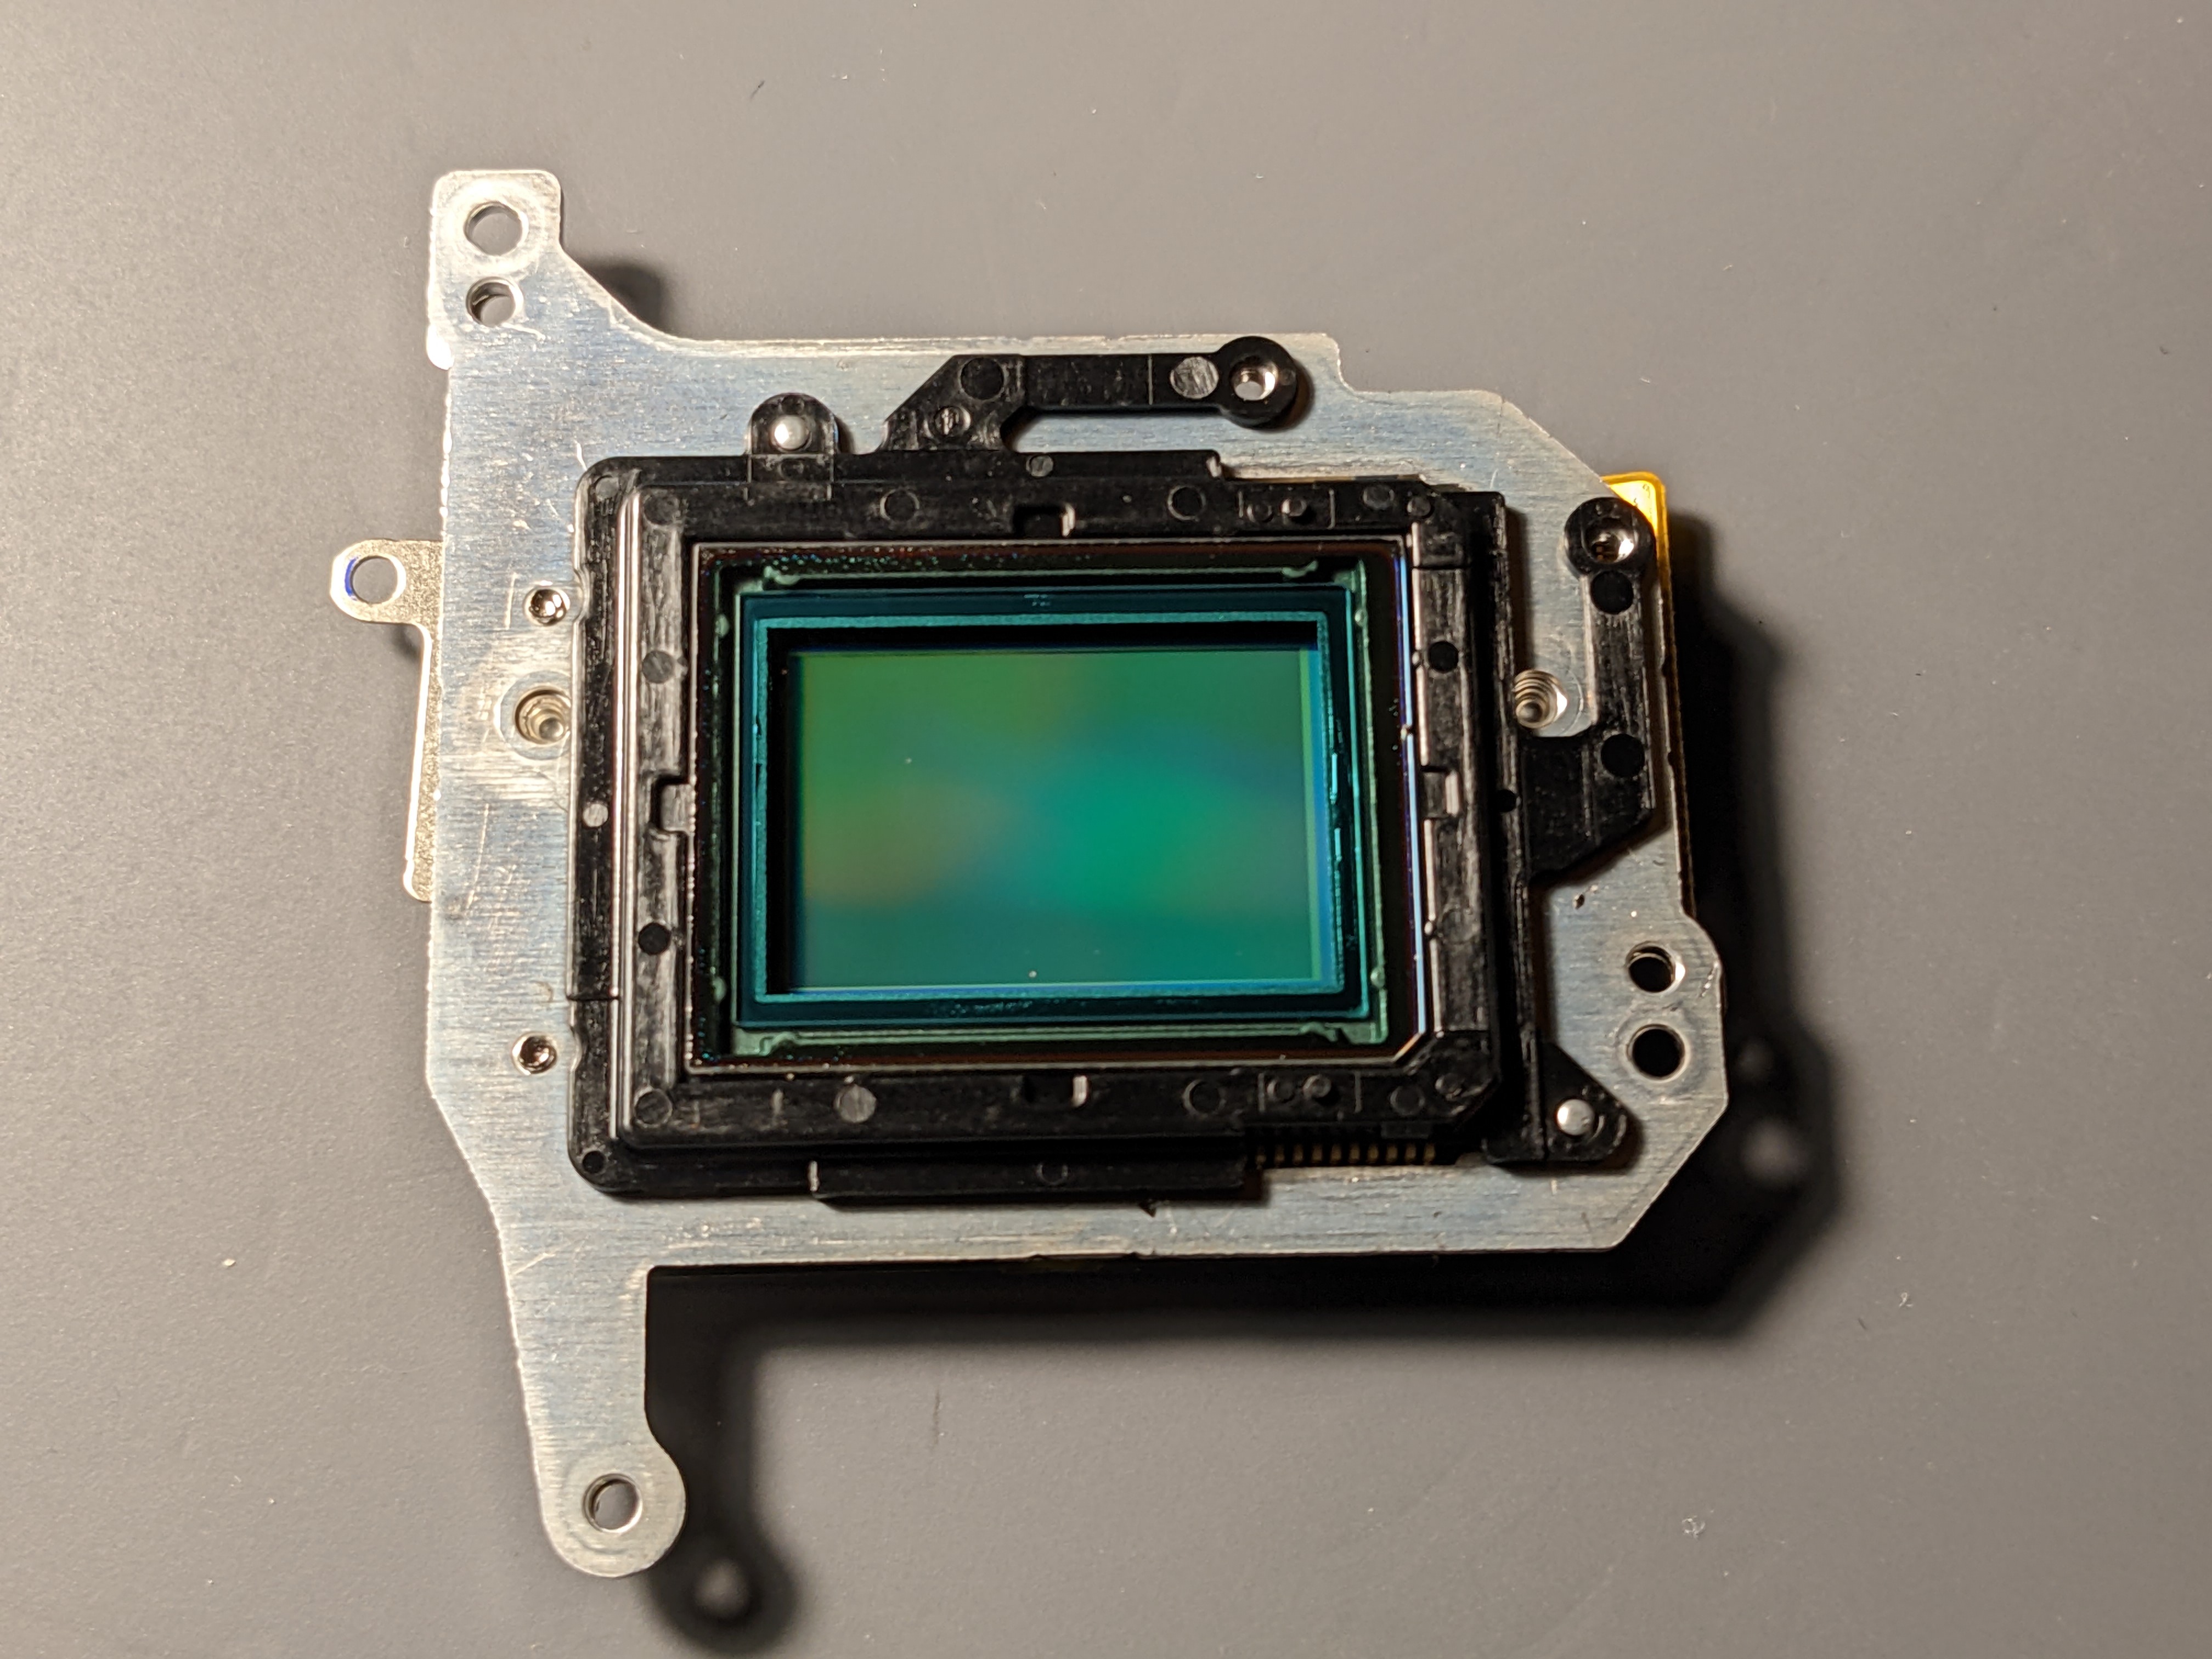
 The sensor assembly, fully removed. Don’t worry, that hair is on the outside!
There is a layer of glass filters that will be removed. You can technically just leave the sensor “naked”, but it’s highly recommended to put MC Clear Glass from Astronomik in it’s place. It protects the sensor from dust and has a similar refractive index and thickness to what you’re removing. Think of it like Indy doing the ol’ switcheroo.

Important: Try to keep the sensor clean. It’s surprisingly hard! Have an air blower handy, and don’t touch it!
I didn’t take any pictures from here on out because I was trying to work fast and keep the bare sensor protected from dust. Despite my best efforts, a tiny spec of something landed on the sensor! I might do this in my laminar flow hood next time as a makeshift cleanroom.
Note: The effects of this dust mote are totally removed when doing a proper flat frame calibration for astrophotography. It’s only visible in uncalibrated / daytime photos.
Luckily, this dust is near the edge of the frame, so I can usually crop it out if it’s noticable in a daytime photographs.
Results
Coming soon